상자 조인트 또는 빗 조인트는 두 개의 나무 조각을 직각으로 결합하는 데 사용되는 목공 기술입니다., 손가락 관절이라고 통칭하는 관절을 말합니다.. 이 조인트는 나무 조각의 보완적인 맞물림 프로파일을 절단하여 형성됩니다., 손가락 엇갈림과 비슷.
It is simpler than the dovetail joint and consists of interlocking fingers and grooves on the edges of the two pieces of wood, which are then glued together. The resulting joint provides a large bonding surface area, resulting in a strong and seamless structure.
There are two main types of finger joints – non-structural finger joints and structural finger joints. Non-structural finger joints are characterized by short fingers (pins) and are mainly used in furniture manufacturing. Structural finger joints have longer tips and provide the necessary strength for applications such as flooring and roofing.
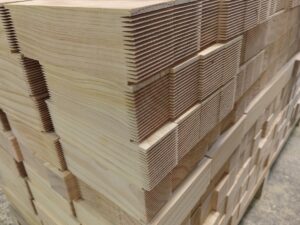
There are also variations of finger joints, the most common of which is the tapered or mitered finger joint, which is used to make long pieces of wood from solid boards to form finger-joined timber. This joint is valuable in the production of skirting boards, doors, moldings, trim and flooring.
One advantage of finger joints is that they can make efficient use of smaller pieces of wood, resulting in a material with good mechanical properties.
By joining individual wood pieces with finger joints, they can become finger-jointed lumber, which has strength properties comparable to solid wood. 하지만, the suitability of the joint depends on factors such as wood type, finger size, and the adhesive used.
In addition to strength, finger joints provide a visually appealing, symmetrical design for corner components. The uniform and symmetrical nature of finger joints can add a clean and professional look to woodworking projects.
게다가, a significant advantage of this type of mortise and tenon joint is its ease of assembly. Interlocking finger joints make it easy to properly align the individual pieces for a precise fit. Unlike dovetails, they are not mechanically interlocked, but their large glue surface area ensures their strength when combined with modern adhesives.
So how should we make perfect finger joints?
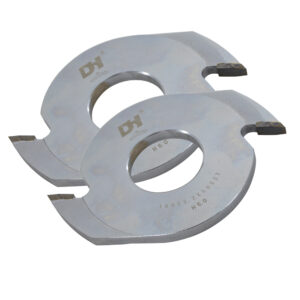
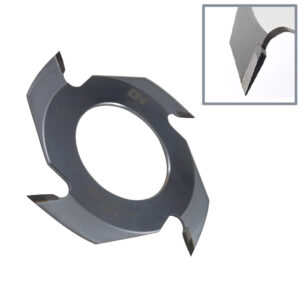
일반적으로, a router bit mounted on a router table is used to create this joint. Using a router table with a properly positioned stop and router bit ensures accurate and repeatable cuts. Here is a step-by-step guide on how to complete a finger joint.
Step 1: Set up the router table
첫 번째, mount the finger joint bit on the router table so that the bearing and stop are aligned. This improves safety, especially when routing end pieces, and provides the best support for your boards.
Position the router table stop so that the front of the cutting edge of the router bit and the surface of the stop are aligned. Using a straightedge or ruler to verify this alignment will ensure accurate finger profiles.
Step Two: Make Test Cuts
Make test cuts on two scrap boards. Make a test cut on the first board, then flip the second board over to create an adjacent cut.
If the test cuts are not perfect, make any final adjustments to the cutter. Once set up correctly, proceed to cut the final wood pieces. Make sure that each pair of boards has flush top and bottom edges as the fingers interlock.
If the pieces do not fit exactly, adjust the cutter height and repeat the test cuts until a tight fit is achieved.
Step Three: Make Final Cuts
Once the cuts are complete, test the fit of the wood joints — they should fit snugly without any gaps, and the glue ensures they are nearly as durable.
Step Four: Glue and Assemble the Parts
Here we finish cutting the grooves and fingers before gluing. The fingers are aligned with each other and they should slide and interlock together.
Once you are satisfied with the fit, apply wood glue to all mating surfaces of the fingers. Interlock the fingers of the two boards, making sure the edges are flush and the joint is tight. This way you will have a piece of finger-jointed wood with strength properties comparable to solid wood.


