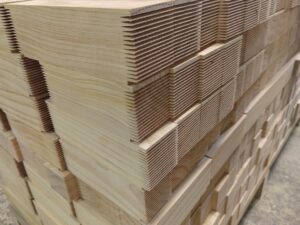
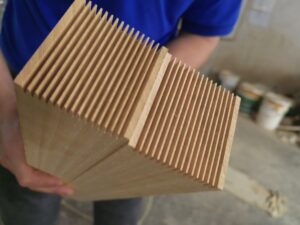
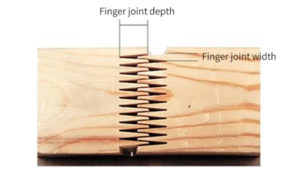
Finger joints are highly regarded in the woodworking community for their exceptional strength and reliability. Woodworkers rely on finger joints to create strong and lasting connections between pieces of wood, ensuring their projects will stand the test of time.
Finger joints not only provide strength, but also beauty. The interlocking fingers form a visually interesting pattern that adds a touch of craftsmanship to the finished product. This makes finger joints a popular choice for both functional and decorative woodworking projects.
So how do we make the perfect finger joint?
Tools Needed to Make Finger Joints
Before you begin creating finger joints, you must gather the necessary tools. The tools you need depend on the method you choose, but they typically include:
Table saw or router
Mitten gauge or sled
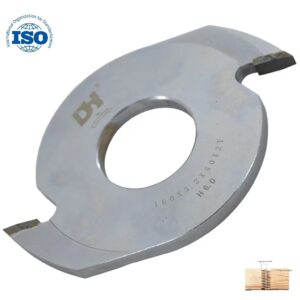
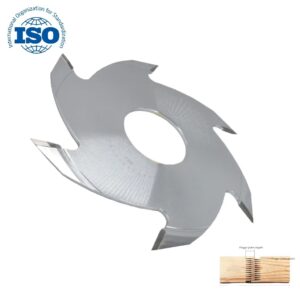
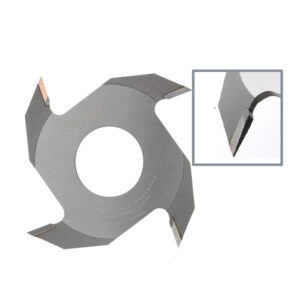
Mortise saw blade or router bit
Clamps
Measuring tools, such as a combination square or measuring tape
Owning these tools will ensure you have everything you need to create precise and snug finger joints.
Preparing the Wood
Proper wood preparation is essential to successfully constructing finger joints. Start by selecting wood with a straight grain and minimal imperfections. This will not only enhance the beauty of the joint, but also its strength and durability.
Once you have selected your wood, it is vital to ensure that the pieces are accurately sized and square. This can be achieved by measuring and marking the desired dimensions using a combination square or tape measure. Taking the time to prepare the wood will greatly improve the overall quality of the joint.
Cutting the Fingers
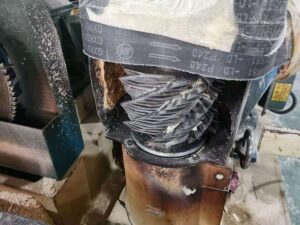
The key to creating a precise finger joint is to accurately cut the fingers. This can be achieved using a table saw with a dovetail saw or a router with an appropriate router. Both methods have their own advantages, so choose the method you are most comfortable with and that fits your project requirements.
Before cutting the fingers, be sure to carefully measure and mark the location of each finger. This will ensure that your joint is symmetrical and aesthetically pleasing. Once the locations are marked, follow the guidelines provided by your chosen method to make the necessary cuts. Take the time to double-check your measurements for accuracy.
Assembling the Joint
Once the fingers have been cut, it is time to assemble the joint. This is where the magic happens and your carefully crafted fingers come together to form a strong and aesthetically pleasing joint.
Before assembly, it is recommended to apply a thin layer of wood glue to the fingers and grooves. This will enhance the bond between the parts and ensure a secure joint. Make sure to apply the glue evenly, covering the entire surface of the fingers and grooves.
Next, carefully align the pieces by sliding your fingers into the corresponding grooves. This may take some skill and patience, but the end result is worth it. Once the pieces are aligned, secure the joint using the clamps. Apply even pressure to promote the best bond formation.
Now comes the hard part – waiting. Allow the glue to dry completely before removing the clamps. This can take several hours, so be patient and resist the temptation to rush the process. Once the glue is fully cured, you can remove the clamps and admire your carefully crafted finger joint.
Making finger joints may take some time and experimentation, but with each joint you make, your skills will improve. So don’t be afraid to dig in, embrace the process, and enjoy the satisfaction of creating a sturdy and visually stunning finger joint.
Common Mistakes and How to Avoid Them
Measuring Mistakes
When making finger joints, accurate measurements are essential. Incorrect measurements can result in ill-fitting joints, compromising the strength and integrity of your project. Take the time to double-check your measurements before making any cuts or adjustments.
Loose Joints
A common mistake when making finger joints is making joints that are too loose. Loose joints can weaken the overall structure and reduce the holding power of the joint. To avoid this, make sure the fingers and grooves fit snugly, allowing for a small amount of resistance when assembling the joint.
Overcomplicating the process
Finger joints may look complicated at first glance, but don’t let that scare you off. Overcomplicating the process can lead to frustration and mistakes. Take the time to understand the individual steps, choose the appropriate method, and methodically work through each joint creation phase.
With this guide, hopefully you will have a deeper understanding of finger joints and master the process of creating them. Remember to take the time to practice patience and precision, as these are key factors in achieving a strong, durable finger joint. Whether you are an experienced woodworker or a beginner, finger joints can take your woodworking projects to a new level of quality and craftsmanship.
